Hello, everybody!
We are slowly moving towards the end of the project! Only three more figurines remain! Lets start the countdown!
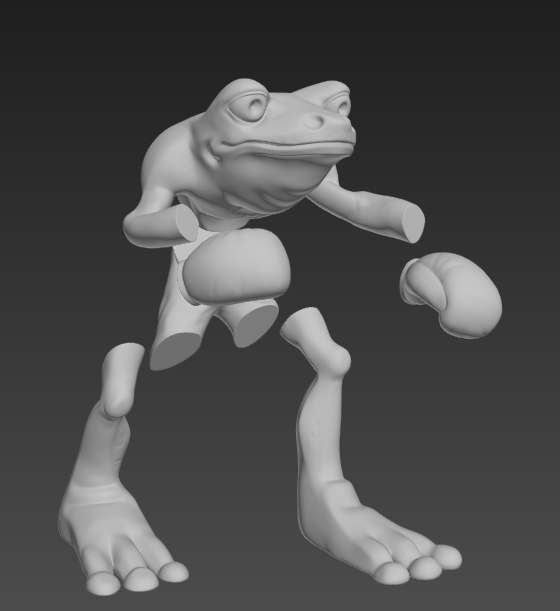
In this journal entry I am going to talk about another frog guy who enjoys boxing (his sparring partner is the frog from the previous entry ;)). The character was modeled by Alexander Tsvetanov for the Character design course at CGZEN.
Look at him! He is ready to face his next opponent!
Model analysis
This figurine was also very easy to print. It consists of six separated parts in total. As per the client's briefing we have to print the head with higher resolution, since it is going to be in the main spotlight. Everything else can be done with more draft and fast settings.
The object was opened in 3Ds Max and scaled up to 5500%! The resulting height in Cura was roughly 14 cm. This satisfies the client's requirements.
Slicing in Cura
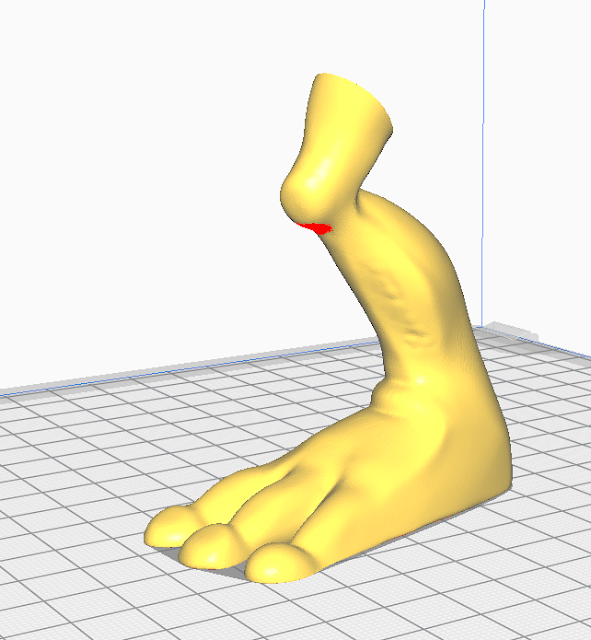
The things we need to print are a pair of gloves and legs, pants and head. Since the head is the most imporant here lets start with it.
Body,head and arms are all in one object. As you can see there are overhangs under the arms which need to be supported as well as the chin.
Settings:


We are slowly moving towards the end of the project! Only three more figurines remain! Lets start the countdown!
In this journal entry I am going to talk about another frog guy who enjoys boxing (his sparring partner is the frog from the previous entry ;)). The character was modeled by Alexander Tsvetanov for the Character design course at CGZEN.
 |
| Frog boxer by Alexander Tsvetanov |
Model analysis
This figurine was also very easy to print. It consists of six separated parts in total. As per the client's briefing we have to print the head with higher resolution, since it is going to be in the main spotlight. Everything else can be done with more draft and fast settings.
 |
| The model imported into 3Ds Max |
Slicing in Cura
The things we need to print are a pair of gloves and legs, pants and head. Since the head is the most imporant here lets start with it.
 |
| The head sliced in Cura |
Settings:
- Layer height - 0.12mm
- Infill - Grid pattern, 18%
- Supports - Touching buildplate, Density - 45%, Pattern - Grid, Support Z distance - 0.3mm
- Buildplate adhesion - Skirt
- Nozzle diameter - 0.4mm
- Time taken - 4 hours 46 minutes
 |
| A glove sliced in Cura |
The gloves were printed separately. Nothing much to say about them. I included another support under the finger area.
Settings:
- Layer height - 0.12mm
- Infill - Grid pattern, 25%
- Supports - Touching buildplate, Density - 45%, Pattern - Grid, Support Z distance - 0.3mm
- Buildplate adhesion - Skirt
- Nozzle diameter - 0.4mm
- Time taken - 40 minutes
 |
| The pants sliced in Cura |
I choose this type of positioning, because I want the supports to be generated under places that aren't going to be that much visible.
Settings:
- Layer height - 0.12mm
- Infill - Grid pattern, 25%
- Supports - Touching buildplate, Density - 40%, Pattern - Grid, Support Z distance - 0.3mm
- Buildplate adhesion - Brim
- Nozzle diameter - 0.4mm
- Time taken - 1 hour and 23 minutes
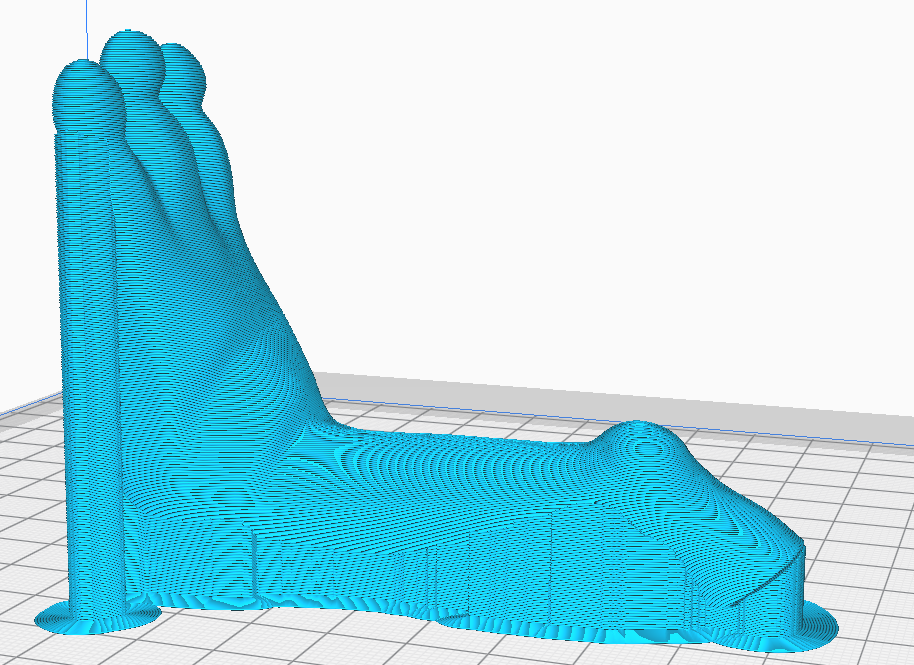 |
| The leg sliced in Cura |
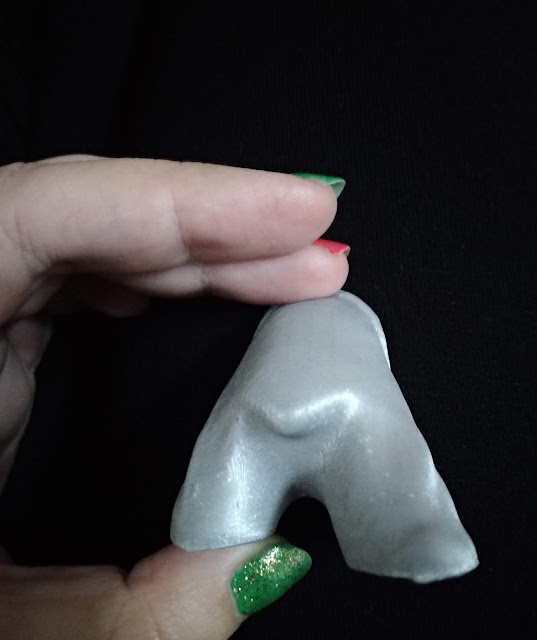
What a big leg indeed! These two parts were kinda tricky or to be precise the first draft didn't go as smoothly as I wanted them to be. I got fooled by the angle of the overhang and decided not to use supports. The results were atrocious! You will see what I am talking about in the Post print section.
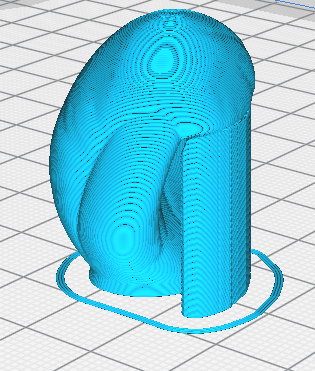
I am going to show how I did the placement the first time on the following screenshot:

Of course, Cura was giving a warning in the red zone that supports are needed, but who I am to listen to the program...
The blue sliced model shows the right placement on the buildplate. In this way the supports will go to the back and the front will be unharmed.
Settings:
- Layer height - 0.2mm
- Infill - Gyroid pattern, 15%
- Supports - Touching buildplate, Density - 40%, Pattern - Grid, Support Z distance - 0.3mm
- Buildplate adhesion - Brim
- Nozzle diameter - 0.4mm
- Time taken - 2 hours
Post print
First, lets start with the failed creations...


Ugh... The horror! This happens when you refuse to listen to what Cura has to say... Absolute mess! Don't ever underestimate the program's warnings!
Time to move on to the good looking things:


Who is a handsome looking boy? Of course our boxing froggy friend! <3
The legs also turned out better this time. I remember back there that I waited until 00:30 after midnight for the second leg to be printed. What a drama! :D
In the end, all is well when it ends well!
See you again!~
Коментари
Публикуване на коментар